You’ve got a laptop, a spare PC monitor, and a desire to boost your productivity. But how do you actually connect them? Whether you’re working from home, editing videos, or just want more screen space, linking your laptop to a PC monitor is a simple upgrade that pays off instantly. With just a few steps and the right cable, you can double your workspace, extend your desktop, or mirror your screen for presentations.
This guide shows you exactly how to connect laptop to PC monitor, no tech degree required. From identifying ports to configuring display settings in Windows and macOS, we’ll walk through everything you need. You’ll also learn how to troubleshoot common issues and optimize your setup for work, gaming, or entertainment.
Check Your Laptop and Monitor Ports
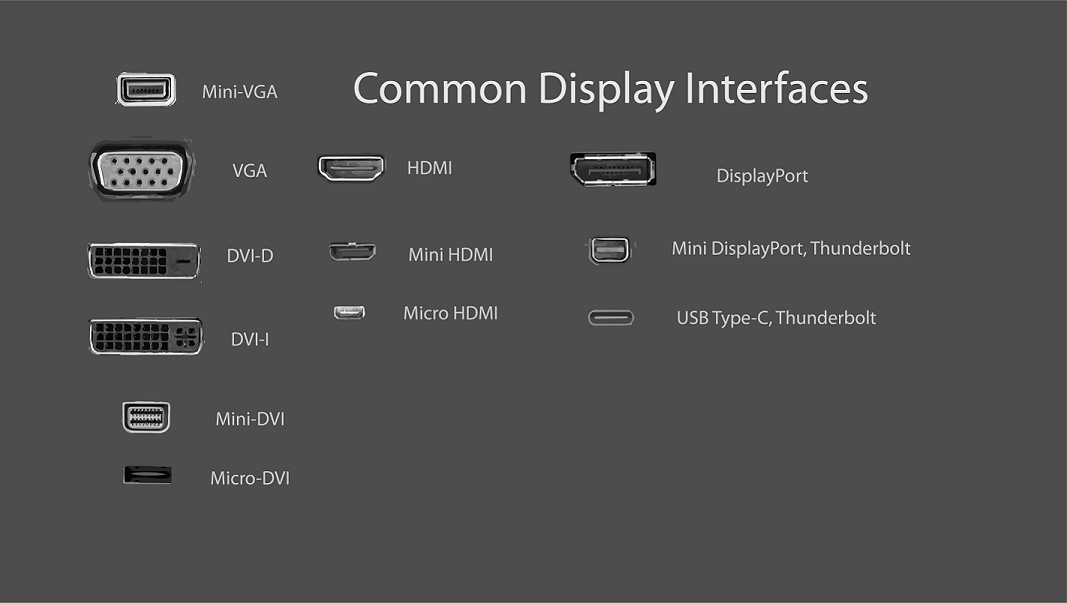
Before buying cables, inspect both devices for compatible video ports. Most modern laptops and monitors support at least one of these connection types.
Find Your Laptop’s Video Output
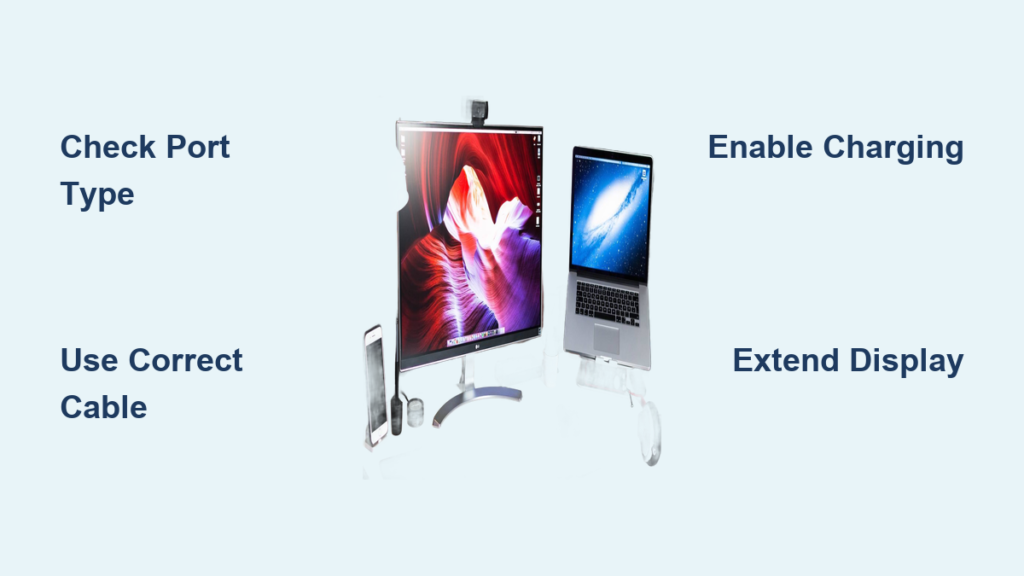
Look for any of these ports on your laptop:
– HDMI: Most common, supports audio and video
– USB-C or Thunderbolt 3/4: Slim oval-shaped port, supports video, power, and data
– DisplayPort: Rectangular with a hooked top edge, common on gaming and office monitors
– VGA: Blue trapezoid-shaped port, older analog standard with no audio
Newer laptops often have USB-C with DisplayPort Alt Mode. Older models may only offer HDMI or VGA.
Identify Monitor Input Ports
Check the back or side of your monitor for matching inputs:
– HDMI in
– DisplayPort in
– VGA in
– USB-C (less common, but growing)
If your monitor lacks a certain input, you may need an adapter, such as USB-C to HDMI.
Match Ports to Choose the Right Cable
Use this quick reference:
– Laptop HDMI to Monitor HDMI: Use HDMI cable
– Laptop USB-C to Monitor HDMI: Use USB-C to HDMI adapter or cable
– Laptop USB-C to Monitor DisplayPort: Use USB-C to DisplayPort cable
– Laptop VGA to Monitor VGA: Use VGA cable, add 3.5mm audio if needed
Choose the highest quality connection available, preferably HDMI or DisplayPort over VGA.
Get the Right Cable or Adapter
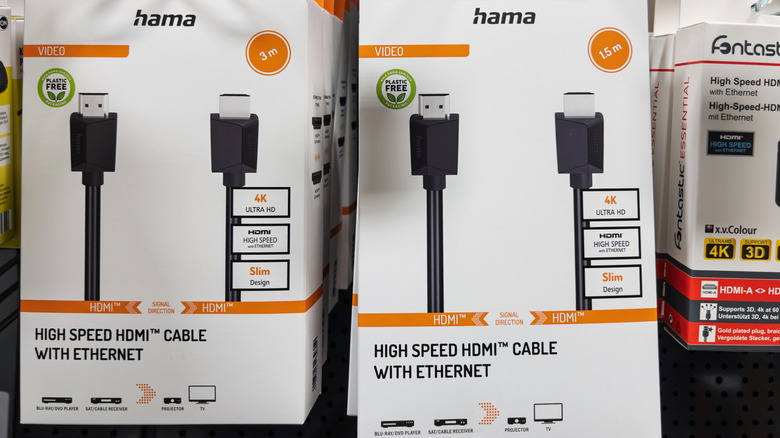
Not all cables are created equal. Picking the wrong one can lead to no signal, flickering, or poor resolution.
Buy a High-Quality Cable
Avoid cheap, unbranded cables. Instead:
– Choose cables labeled “High-Speed HDMI” or “4K-ready” if supporting HD+ resolution
– For USB-C, ensure it supports video output, not just charging
– Use active cables for long runs over 6 feet
Use Adapters When Ports Don’t Match
Common adapter solutions:
– USB-C to HDMI: Ideal for MacBooks and Ultrabooks
– HDMI to VGA: Requires separate audio cable since HDMI audio won’t carry over
– DisplayPort to HDMI: Usually one-way, check direction before buying
Warning: Passive adapters may not work for VGA from digital-only ports. Use active converters when stepping down from digital (HDMI or USB-C) to analog (VGA).
Test Compatibility Before Final Setup
Plug in the cable while both devices are on. If the monitor stays black:
– Try a different cable
– Restart your laptop with the cable connected
– Press the Detect button in display settings (Windows)
Connect the Monitor to Your Laptop
Now that you have the right cable, it’s time to physically connect the two devices.
Power Off Devices for Clean Detection
While hot-plugging is usually safe, turning off both devices prevents glitches:
1. Shut down your laptop
2. Unplug monitor power
3. Connect the video cable securely at both ends
4. Reconnect power and turn on monitor first, then laptop
What Happens After Plug and Play
Most modern systems auto-detect external displays:
– Windows 11/10: Screen briefly flashes, second display activates
– macOS: Mirror mode turns on automatically
– Linux: May require manual setup via Settings > Displays
If nothing appears, proceed to troubleshooting.
Secure the Connection
Loose cables cause flickering or blackouts. Ensure:
– HDMI or DisplayPort clicks into place
– USB-C is fully inserted
– VGA screws are tightened if present
Avoid sharp bends or tension on the cord.
Configure Display Settings in Windows
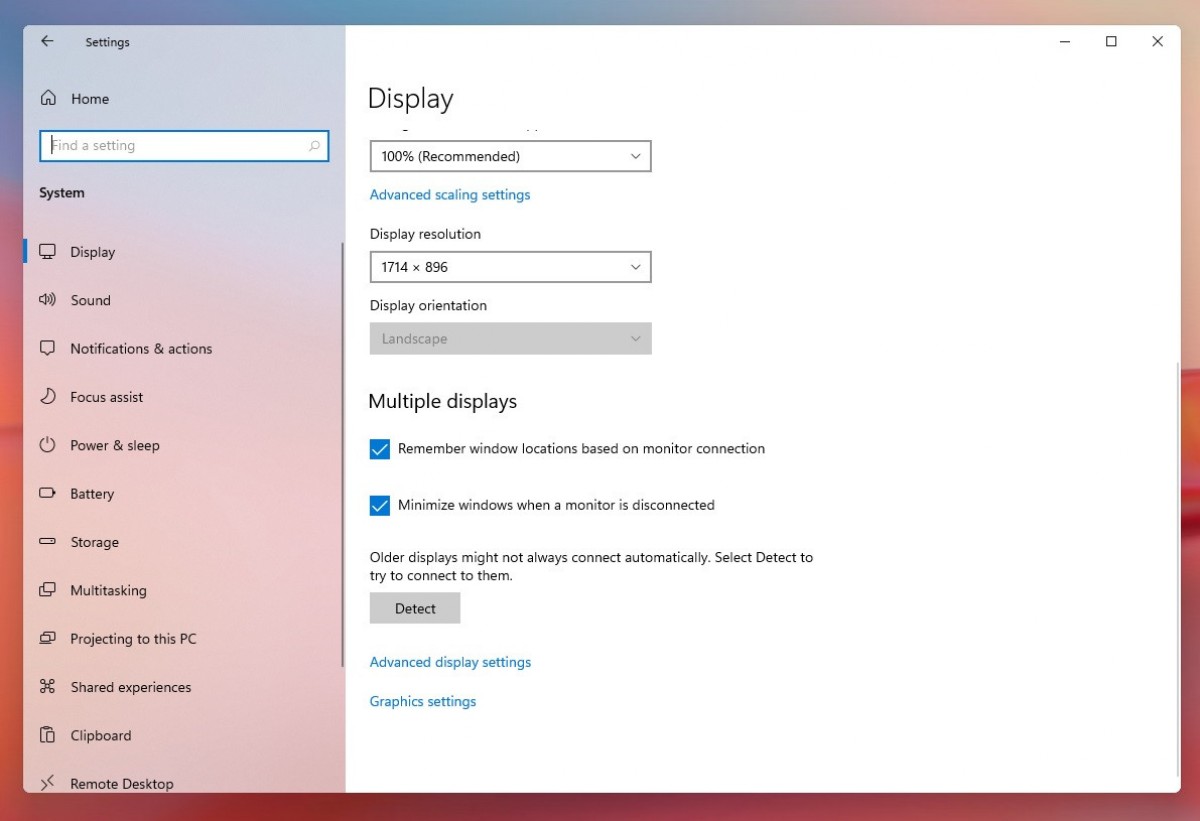
Once connected, tell Windows how to use the second screen.
Open Display Settings
- Right-click desktop, then click Display settings
- Scroll down to the Multiple displays section
You’ll see two labeled boxes representing your screens.
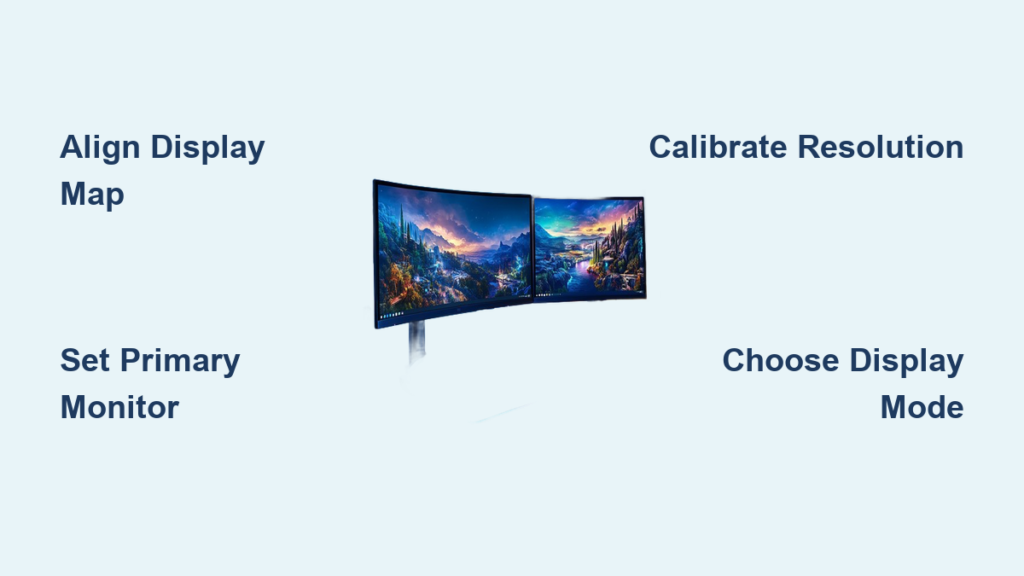
Choose Your Display Mode
Select from four options:
– Duplicate these displays: Same image on both screens, great for presentations
– Extend these displays: Combine screens into one large workspace, best for multitasking
– Show only on 1: Use laptop screen only
– Show only on 2: Use external monitor only, ideal for docking
Pro Tip: Drag the screen icons to match physical layout. This affects mouse movement direction.
Adjust Resolution and Orientation
Set each monitor’s clarity and position:
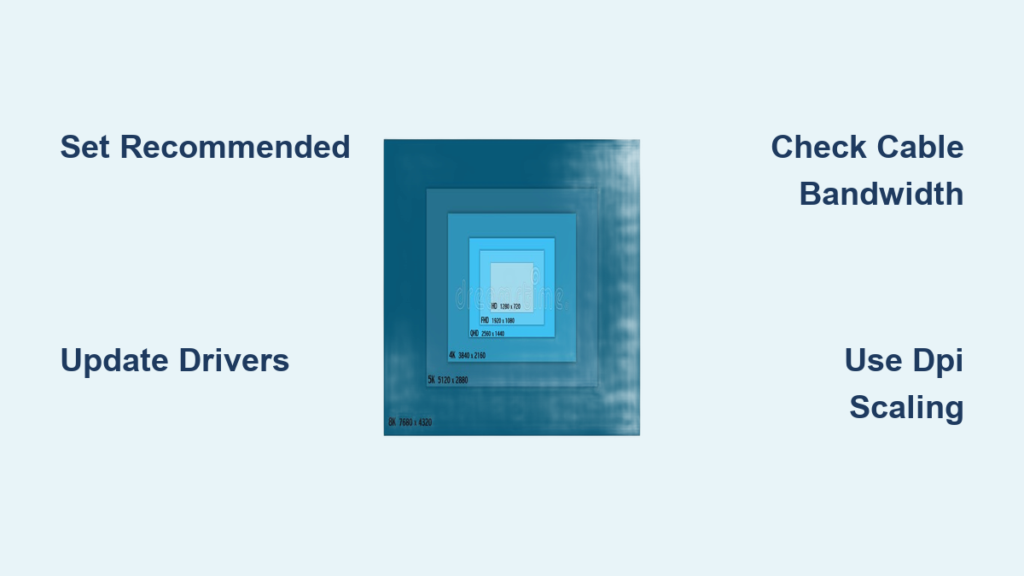
– Pick Recommended resolution for best quality
– Change orientation: Landscape, Portrait, or rotated
– Scale text and apps from 100% to 200% for readability
Mismatched scaling can make windows look blurry or oversized.
Set Primary Display
Choose which screen opens apps by default:
1. Click the monitor you want as main
2. Check Make this my main display
3. Apps will now open here, including the login screen
Useful if your monitor has a larger or sharper display.
Set Up Dual Screens on Mac

macOS handles external monitors seamlessly but offers customization options.
Access Display Preferences
- Click the Apple menu, then System Settings (or System Preferences on older versions)
- Go to Displays
Hold the Option key and click Scaled for resolution choices.
Switch Between Mirror and Extend
By default, Macs mirror displays. To extend:
1. Press and hold Option, then click Arrangement
2. Uncheck Mirror Displays
3. Drag screen icons to arrange left, right, up, or down
Your cursor now moves logically between monitors.
Use Stage Manager with Dual Screens
In macOS Ventura and later:
– Enable Stage Manager in Desktop and Dock settings
– It organizes windows across both screens
– Works best in Extended mode
Ideal for managing many open apps.
Troubleshoot No Signal or Black Screen
Even with the right cable, sometimes the monitor stays dark.
Fix “No Signal” Message
Common causes and fixes:
– Loose cable: Reseat both ends
– Wrong input source: Use the monitor’s menu to select correct input (HDMI 1, HDMI 2, etc.)
– Disabled port: Some laptops disable video over USB-C unless powered
Try pressing Win + P (Windows) or Cmd + F1 (Mac) to force detection.
Force Windows to Detect the Monitor
- Press Win + Ctrl + Shift + B to refresh the graphics driver
- Press Win + P to open the projection menu
- Select Duplicate, Extend, or Second screen only
- Choose Detect under Display settings
Wait 10 to 15 seconds after each step.
Restart Graphics Driver
If the screen flickers or freezes:
– Press Win + Ctrl + Shift + B to reset GPU without rebooting
– Listen for a beep; screen goes black briefly
This often resolves driver glitches.
Optimize Your Dual-Screen Workflow
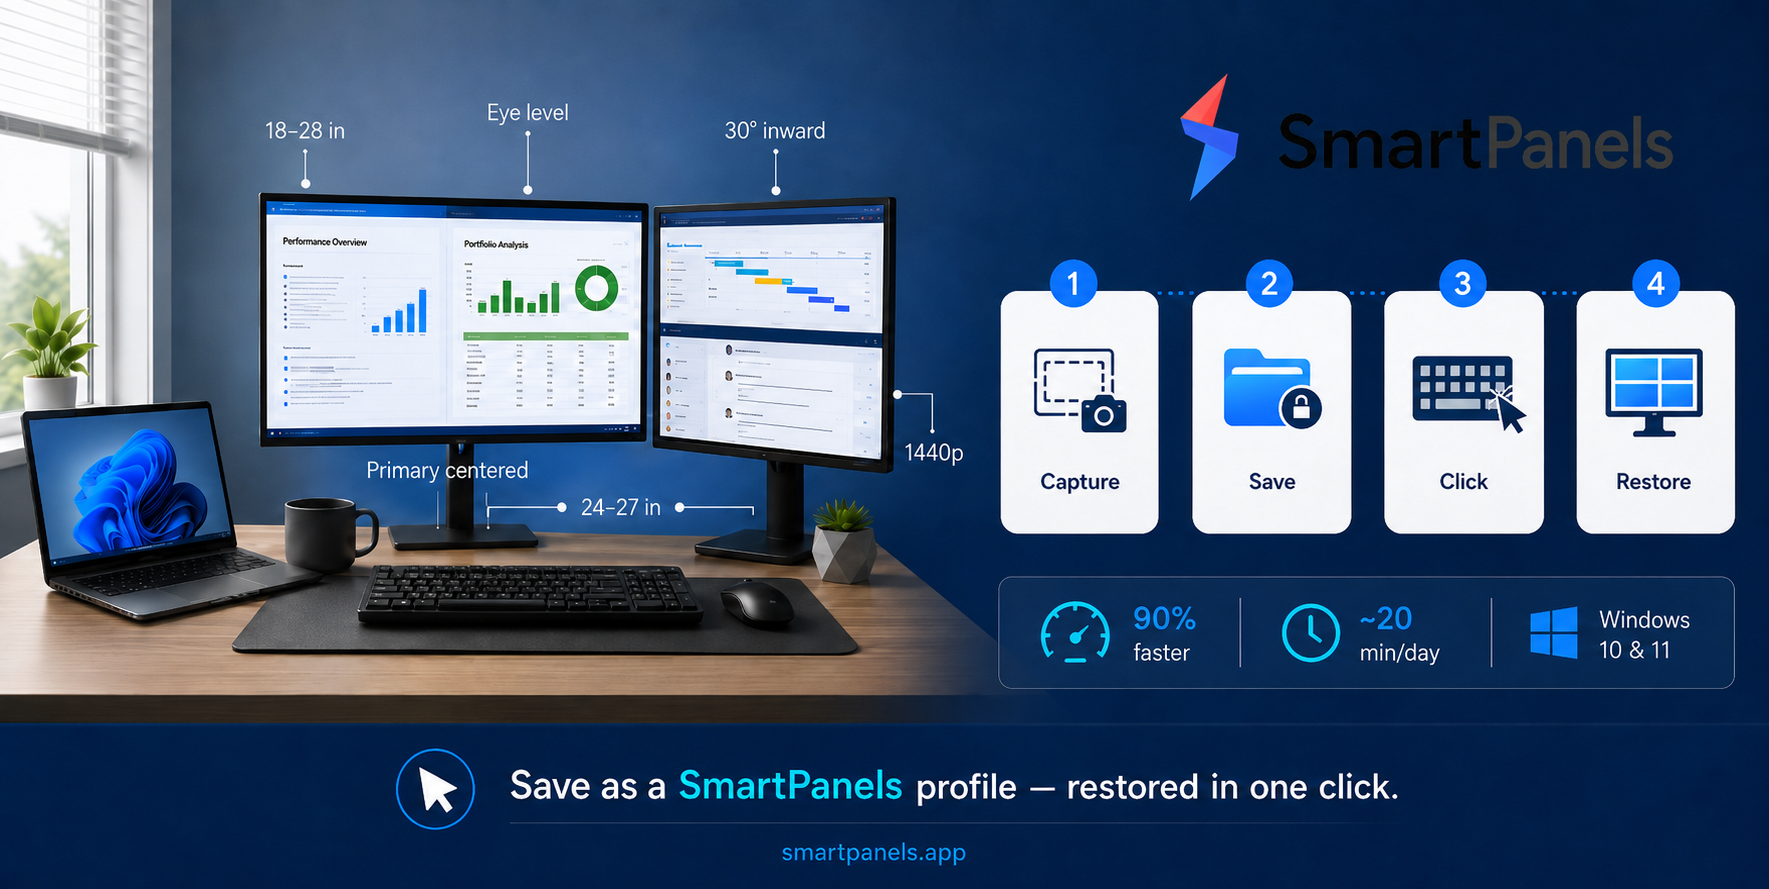
Now that your monitor works, make the most of it.
Use Keyboard Shortcuts
Speed up multi-monitor control:
– Win + Shift + Left/Right Arrow: Move window between screens
– Win + Left/Right Arrow: Snap window to half-screen
– Win + P: Quick switch projection mode
– Ctrl + Alt + Up/Down Arrow: Rotate screen if supported
On Mac: Cmd + Option + Ctrl + Left/Right Arrow moves windows.
Organize Apps by Task
Boost productivity:
– Left screen: Email, calendar, messaging
– Right screen: Browser, documents, design tools
– Use Virtual Desktops (Task View in Windows, Mission Control on Mac) for separate projects
Prevent Eye Strain
Match monitor settings:
– Set similar brightness and color temperature
– Use Night Light (Windows) or Night Shift (Mac) in evenings
– Position monitor at eye level, 20 to 30 inches away
Avoid glare with proper lighting or anti-glare screens.
Maintain and Upgrade Your Setup

Keep your dual-screen system running smoothly.
Clean Cables and Ports Regularly
Dust can disrupt connections:
– Power off devices
– Use compressed air to blow out ports
– Wipe cable ends with a dry cloth
Do this every 3 to 6 months.
Update Graphics Drivers
Outdated drivers cause display issues:
– Windows: Open Device Manager, then Display adapters, right-click, and select Update driver
– Or visit the manufacturer site (Intel, NVIDIA, AMD)
Set updates to automatic.
Consider a Docking Station for Laptops
If you connect daily:
– Use a USB-C docking station with HDMI, DisplayPort, USB ports, and charging
– Plug in one cable to dock; monitor, keyboard, and power connect to dock
– Saves time and reduces wear on ports
Great for home offices or hybrid work.
Frequently Asked Questions About Connecting a Laptop to a PC Monitor
Do I need a special cable to connect my laptop to a monitor?
Yes, you need a cable that matches the ports on both your laptop and monitor. Common options include HDMI, DisplayPort, USB-C, or VGA. If your ports don’t match, use an adapter such as USB-C to HDMI.
Can I connect a laptop to a monitor wirelessly?
Some laptops and monitors support wireless display standards like Miracast or AirPlay. However, a wired connection typically delivers better performance, lower latency, and higher resolution.
Why is my monitor saying “No Signal” after connecting?
This usually means a loose cable, wrong input source selected on the monitor, or a disabled port on your laptop. Reseat the cable, check the monitor’s input menu, and try pressing Win + P to force detection.
How do I extend my display instead of mirroring it?
In Windows, right-click the desktop, open Display settings, and select Extend these displays. On Mac, go to System Settings > Displays, hold Option, click Arrangement, and uncheck Mirror Displays.
Will connecting a monitor slow down my laptop?
In most cases, no. Modern laptops handle dual displays easily. However, running very high resolutions or multiple 4K monitors may strain older graphics hardware.
Can I close my laptop lid while using an external monitor?
Yes, but you’ll need to change your power settings. In Windows, go to Control Panel > Power Options > Choose what closing the lid does, and set “When plugged in, lid close action” to “Do nothing.”
Key Takeaways for Connecting Your Laptop to a PC Monitor
Connecting your laptop to a PC monitor unlocks a more powerful, flexible computing experience. With the right cable, proper configuration, and a few tweaks, you can enjoy extended desktop space, better multitasking, and improved comfort.
The process is fast and reversible, so try it today. Start by checking your ports, grab a compatible cable, and configure your display settings. Once you go dual screen, you’ll wonder how you ever worked with just one.