You just unboxed a brand-new monitor and want to enjoy sharper visuals, smoother gameplay, or a more productive workstation, but you’re unsure where to start. Learning how to setup monitor properly involves more than simply plugging in a cable. From selecting the right connection type to configuring operating system settings and adjusting ergonomics, every step matters. This guide walks you through the entire process so you get it right the first time. You’ll discover how to gather components, connect cables correctly, configure Windows and macOS settings, troubleshoot issues, and fine-tune your workspace for lasting comfort.
Gather Required Components Before You Begin
Before powering on any device, make sure you have all the hardware and tools ready for a smooth installation.
Essential Hardware Checklist
To successfully set up a monitor, collect these items first:
- Monitor unit
- Power cable (typically an IEC C13/C14 “kettle” style)
- Display cable: HDMI, DisplayPort, USB-C, DVI, or VGA
- USB cable (if your monitor has a built-in hub)
- Adapters or docking station for mismatched ports
- Screwdriver for stand assembly or VESA mounting
- Cable ties or clips for clean cable management
- User manual for port layout reference
Pro Tip: Avoid VGA whenever possible. It is analog and delivers noticeably lower image quality than digital HDMI, DisplayPort, or USB-C alternatives.
Prepare Your Workspace for Installation
Clear a stable, ventilated area on your desk with easy access to the back of the monitor. If your display is large or heavy, ask someone to help during unboxing to prevent injury or damage to the panel.
Connect Monitor Cables in the Correct Sequence

The order of cable connections directly affects whether your computer detects the display properly.
Power and Display Connection Steps
- Plug in the power cable. Connect one end to the monitor and the other to a wall outlet or surge protector. Do not power on yet.
- Connect the display cable. Match the port on your computer’s graphics card with the corresponding port on the monitor. Insert HDMI, DisplayPort, or USB-C securely. A loose connection causes “No Signal” errors.
- Attach the USB cable if applicable. If your monitor has USB ports, connect the upstream USB-B or USB-C cable to your PC to activate the hub.
- Power on in the correct sequence. Turn on the monitor first, then boot the computer. This ensures the GPU detects the display during startup.
Select the Correct Input Source Manually
If the screen stays blank after powering on, press the Input or Source button on the monitor. Cycle through options like HDMI 1, HDMI 2, or DisplayPort until you select the port where your cable is connected.
Handle Special Connection Types and Adapters
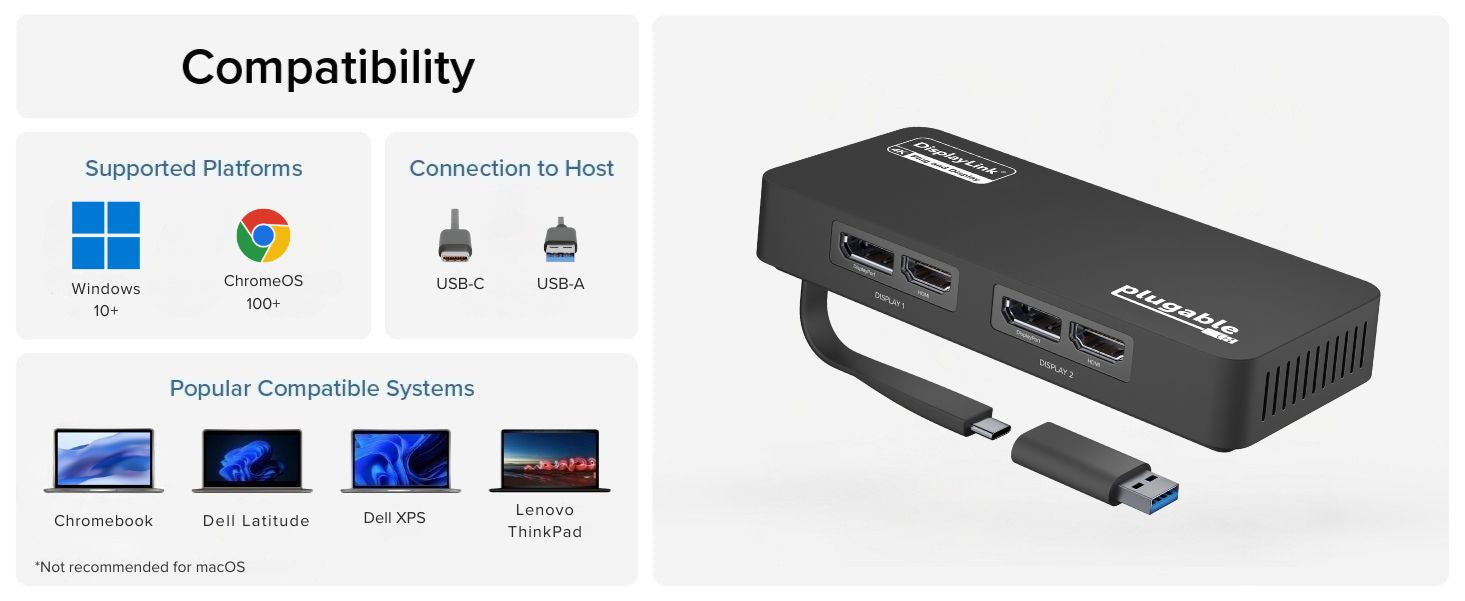
Not every setup uses a standard HDMI or DisplayPort cable. Learn how to manage advanced scenarios.
USB-C Direct Connection Setup
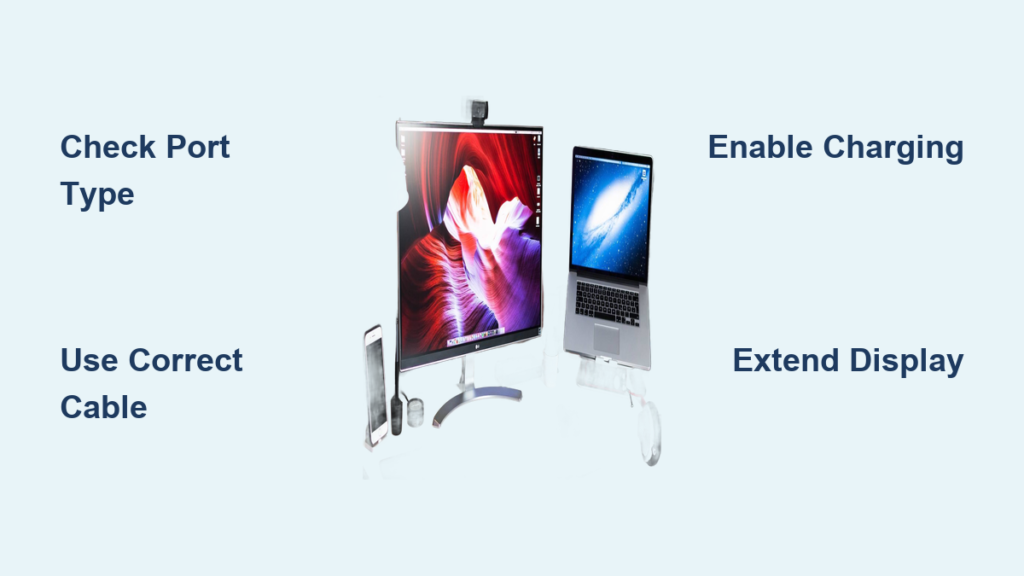
Use this method when your laptop or PC supports USB-C with DisplayPort Alt Mode. Plug a USB-C to USB-C cable into both devices, then select the USB-C input on the monitor if it does not auto-detect. This single cable supports video, audio, data, and charging.
USB-C to HDMI or DisplayPort Adapter
Use this when your PC has USB-C but your monitor only has HDMI or DisplayPort. Plug the adapter into your PC, connect an HDMI or DisplayPort cable from the adapter to the monitor, then select the correct input on the monitor. Some adapters require driver installation, so check the manufacturer’s website.
USB-A to HDMI Using DisplayLink Adapters
Use this for older PCs with only USB-A ports. You need a USB-A to HDMI adapter using DisplayLink technology. Plug the adapter into a USB-A port, connect the HDMI cable to the monitor, install the DisplayLink driver from the adapter maker, and select the HDMI input on the monitor. Without drivers, the PC won’t recognize the display.
Docking Station Setup for Multi-Monitor Workspaces
This setup is ideal for laptops with a single USB-C port. Connect the dock to your PC via USB-C, plug the monitor into the dock using HDMI or DisplayPort, then power on the monitor and select the correct input. A single cable enables dual monitors, Ethernet, and charging.
Wireless Display via Miracast
Plug a wireless adapter like the Microsoft Wireless Display Adapter into the monitor’s HDMI port. On Windows, press Win + K and select the adapter from the list. Wait for the connection to establish. Both devices need Wi-Fi and Miracast support.
Direct USB Display on Specialized Monitors
Select monitors like Dell UltraSharp support display output directly over USB-A or USB-C. Install the DisplayLink driver, connect a standard USB cable, and the monitor appears as a secondary display. This works well for port-limited laptops.
Configure Windows Display Settings for Optimal Performance
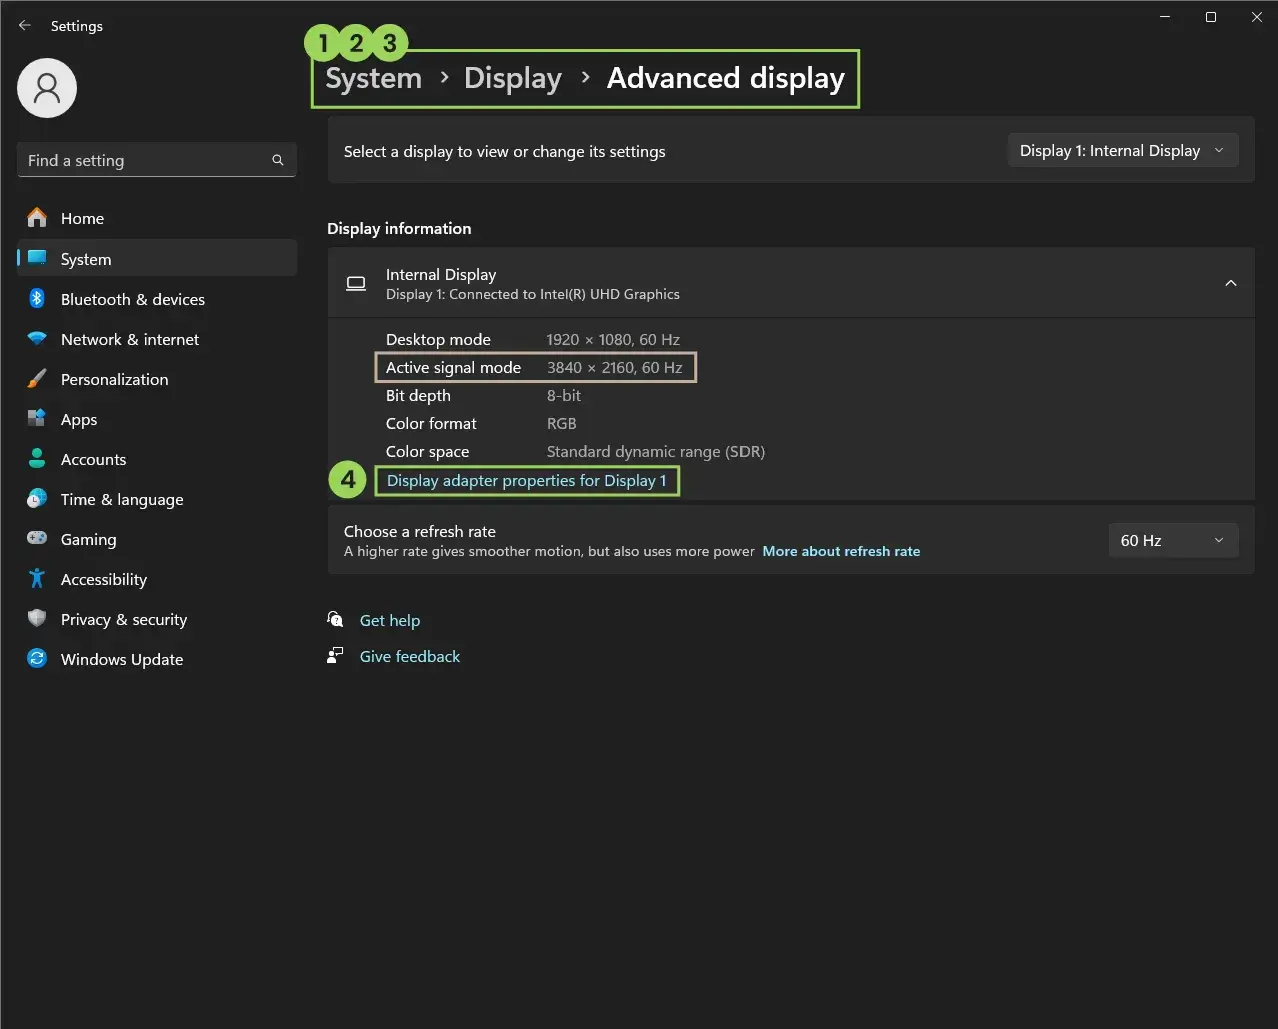
Once connected, optimize your display through Windows settings.
Open Display Settings Quickly
Right-click the desktop and select Display settings. Alternatively, go to Start, then Settings, then System, then Display.
Detect and Identify Connected Monitors
If your monitor isn’t showing up, navigate to Multiple displays and click Detect. To identify which screen is which, click Identify. A large number appears on each screen matching the numbered boxes in settings.
Arrange Multiple Monitors Correctly
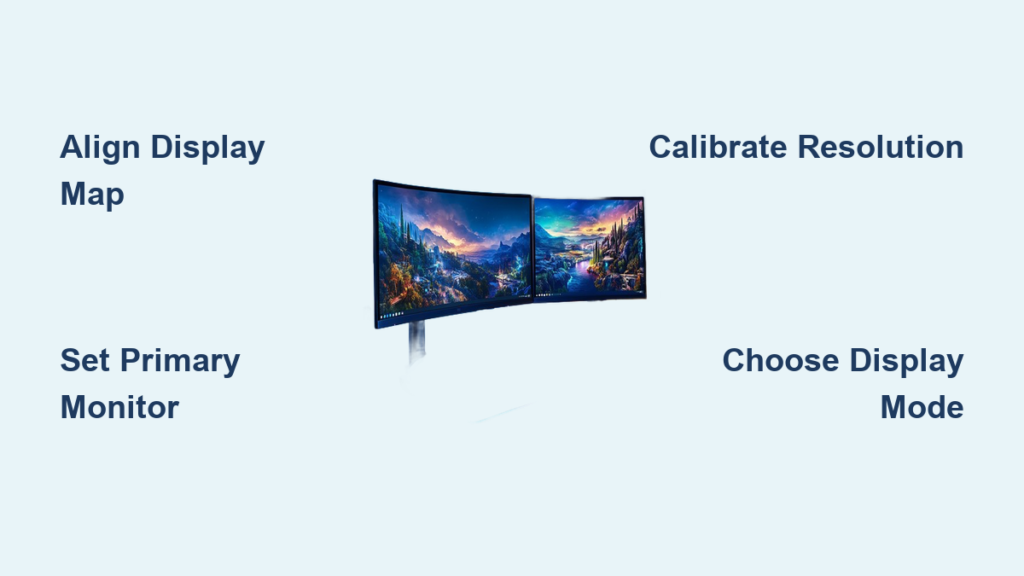
Ensure mouse movement matches your physical layout. In Display settings, drag the numbered boxes to match monitor positions. For example, place box “2” to the right of “1” if your second monitor sits on the right. Click Apply, then Keep changes. Use Identify while arranging to avoid confusion.
Choose the Right Projection Mode
Press Win + P for quick access to projection options:
- PC screen only: Only the main display stays active
- Duplicate: Same image appears on all screens
- Extend: Desktop spans across all monitors
- Second screen only: Main display turns off, external monitor stays active
Use Duplicate for presentations and Extend for multitasking.
Set Your Primary Monitor
The primary monitor hosts the taskbar and opens apps by default. Click the monitor box in Display settings, scroll down, and check Make this my main display.
Adjust Scaling and Resolution for Sharp Images
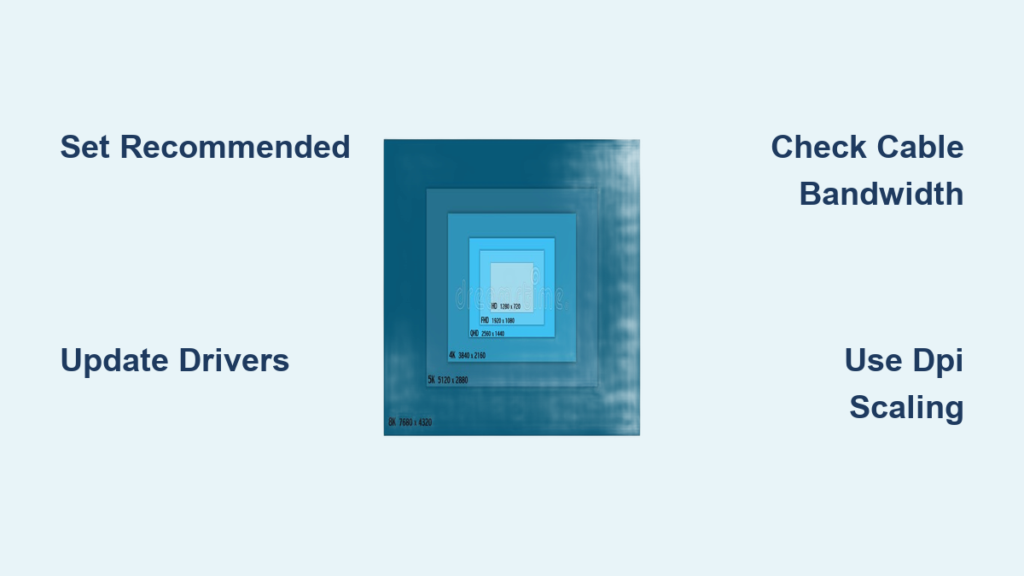
Set the resolution to the native value (such as 1920×1080 or 3840×2160) for the sharpest image. Adjust scaling percentage (100%, 125%, or 150%) for readability on high-DPI screens. If native resolution isn’t listed, update your graphics drivers.
Change Refresh Rate for Smoother Motion
In Display settings, click Advanced display. Select the highest refresh rate your monitor supports, such as 60Hz, 120Hz, or 144Hz. This requires a compatible GPU, cable, and monitor.
Manage Docking Behavior for Laptops
Go to Multiple displays settings and toggle Remember window locations based on monitor connection to keep apps where you left them. Toggle Minimize windows when monitor disconnected to prevent lost windows.
Configure macOS and Linux Display Settings
macOS Monitor Configuration
Connect your monitor and go to System Settings, then Displays. Adjust resolution, drag screens to match your layout, and modify scaling for Retina or high-DPI displays. To enable or disable mirroring, hold Option and click Arrangement, then uncheck “Mirror Displays.”
Linux Display Configuration
The process depends on your desktop environment. In GNOME, go to Settings, then Displays. In KDE, navigate to System Settings, then Display and Monitor. In XFCE, open Settings, then Display. Common actions include detecting displays, setting resolution and orientation, arranging screens, and choosing the primary monitor. For advanced control, use the xrandr command in the terminal.
Fix Common Monitor Setup Issues Quickly
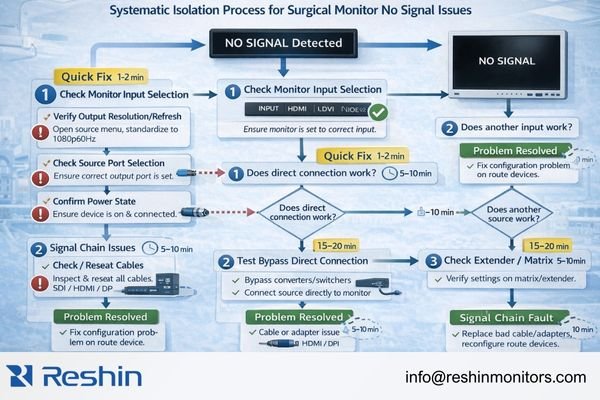
Even with correct setup, problems can occur. Here’s how to resolve the most frequent ones.
No Signal or Black Screen Solutions
This issue usually stems from a loose cable, wrong input, or power problem. Check and reseat both ends of the power and display cables. Confirm both the monitor and PC are powered on. Press the Input or Source button to select the correct port. Restart both devices. Try a different HDMI or DisplayPort cable or port if the problem persists.
Monitor Not Detected by Windows
Click Detect in Windows Display settings. Restart both the PC and monitor. Update your graphics drivers from NVIDIA, AMD, or Intel. Try a different cable or port. Check for firmware updates through the manufacturer’s app.
Blurry or Fuzzy Image Fix
Set the resolution to the monitor’s native value in Display settings. If the image remains blurry, clean the screen gently with a microfiber cloth. Never use window cleaners, as they can damage the coating.
Flickering Screen Resolution
Replace the display cable to rule out a fault. Update your GPU drivers. In Advanced display settings, confirm the correct refresh rate is selected.
Audio Not Working Through HDMI
Right-click the speaker icon and select Sound settings. Under Output, choose the monitor as the default device and test playback. Your monitor must have built-in speakers for this to work.
Optimize Ergonomics and Workspace Comfort

A properly positioned monitor protects your health and enhances productivity.
Position Your Monitor for Comfort
Place the top of the screen at or slightly below eye level. Sit at arm’s length, roughly 20 to 30 inches away. Tilt the screen backward at a 10 to 20 degree angle. Keep the monitor centered to avoid neck strain. A monitor arm or riser helps achieve precise adjustment.
Manage Cables for a Clean Workspace
Use cable ties, clips, or sleeves to bundle cords together. Route cables behind your desk and label inputs for quick identification. This reduces clutter and prevents accidental disconnection.
Calibrate Colors for Best Image Quality
Use the Windows Display Color Calibration tool by searching in Start. Adjust brightness, contrast, gamma, and color balance. Enable HDR if your monitor and content support it. For professional photo or video work, consider a hardware calibrator like SpyderX.
Clean Your Screen Safely
Power off the monitor before cleaning. Use a microfiber cloth lightly dampened with distilled water or screen-safe cleaner. Wipe gently in a circular motion. Avoid paper towels, ammonia, or alcohol-based products.
Maintain Monitor Performance Over Time
Keep your setup running smoothly with regular maintenance.
Update Drivers Regularly
Check your GPU manufacturer’s website monthly for driver updates. Tools like GeForce Experience or AMD Adrenalin automate this process.
Check Adapter and Dock Firmware
Some docks and adapters receive firmware updates that improve compatibility and performance. Visit the manufacturer’s support page periodically.
Plan for Operating System Support Cycles
Windows 10 support ends on October 14, 2025. Upgrade to Windows 11 to ensure continued driver and feature support for your monitor.
Know Your Warranty Coverage
Refer to your user manual for warranty duration, defect claims, and support contacts. Register your monitor online for faster service when needed.
Frequently Asked Questions About How to Setup Monitor
What cables do I need to setup a monitor?
You need a power cable and a display cable that matches ports on both your computer and monitor. Common options include HDMI, DisplayPort, and USB-C. If your ports don’t match, use an adapter or docking station.
Why does my monitor say “No Signal” after connecting?
This usually means a loose cable, the wrong input source, or a power issue. Reseat all cables, press the Input or Source button to select the correct port, and restart both devices.
How do I set up dual monitors in Windows?
Connect both monitors, then go to Settings, then System, then Display. Click Detect if needed, drag the numbered boxes to match your physical layout, and choose Extend under Multiple displays.
What is the best resolution setting for my monitor?
Always use the native resolution, which is the exact number of physical pixels on your display. This delivers the sharpest image. If it’s not listed in settings, update your graphics drivers.
Can I connect a monitor with USB-C to an HDMI port?
Yes. Use a USB-C to HDMI adapter. Plug the adapter into your PC’s USB-C port, connect an HDMI cable from the adapter to the monitor, and select the correct input source.
How do I clean my monitor screen without damaging it?
Power off the monitor first. Use a microfiber cloth lightly dampened with distilled water. Wipe gently in a circular motion. Avoid paper towels, ammonia, alcohol, or window cleaners.
Key Takeaways for Setting Up Your Monitor Correctly
A successful monitor setup starts with gathering the right cables and components, then connecting them in the correct sequence with the monitor powered on first. Configuring Windows, macOS, or Linux display settings ensures your screen runs at native resolution with the right refresh rate and scaling. Troubleshooting common issues like “No Signal” or blurry images usually involves checking cables, input sources, and drivers. Finally, ergonomic positioning and regular maintenance keep your workspace comfortable and your display performing well for years. Start by unboxing your monitor, identifying your available ports, and following the connection steps in this guide for a flawless setup.