You’ve set up your workspace, opened your MacBook, and immediately realized you need more screen space. Whether you’re editing video, coding, or juggling spreadsheets, a single laptop screen rarely cuts it. Adding an external monitor instantly transforms your workflow.
Connecting a MacBook to a monitor is refreshingly simple, even with non-Apple displays. macOS handles external monitors with ease across most modern MacBook models. With the right cable and a few quick settings tweaks, you’ll have a dual-screen setup running in minutes.
This guide walks you through exactly how to connect your MacBook to a monitor using USB-C, HDMI, or a dock. You’ll also learn how to enable charging, extend or mirror your display, and optimize screen settings for clarity and color accuracy.
Identify Your MacBook Port Type
Before plugging anything in, check which ports your MacBook has. This determines your connection options:
- USB-C or Thunderbolt 3/4: Found on MacBook Air (M1/M2/M3) and MacBook Pro (2016 and later). Supports video output, charging, and data over a single cable.
- HDMI: Available on older MacBook Pro models from before 2016. Use HDMI for direct monitor connection.
- Mini DisplayPort: Found on very old MacBooks from before 2012. Requires an adapter.
Most modern MacBooks use USB-C or Thunderbolt ports, making USB-C to monitor the preferred method for clean, single-cable setups, especially when your monitor supports power delivery.
Choose the Right Cable or Adapter
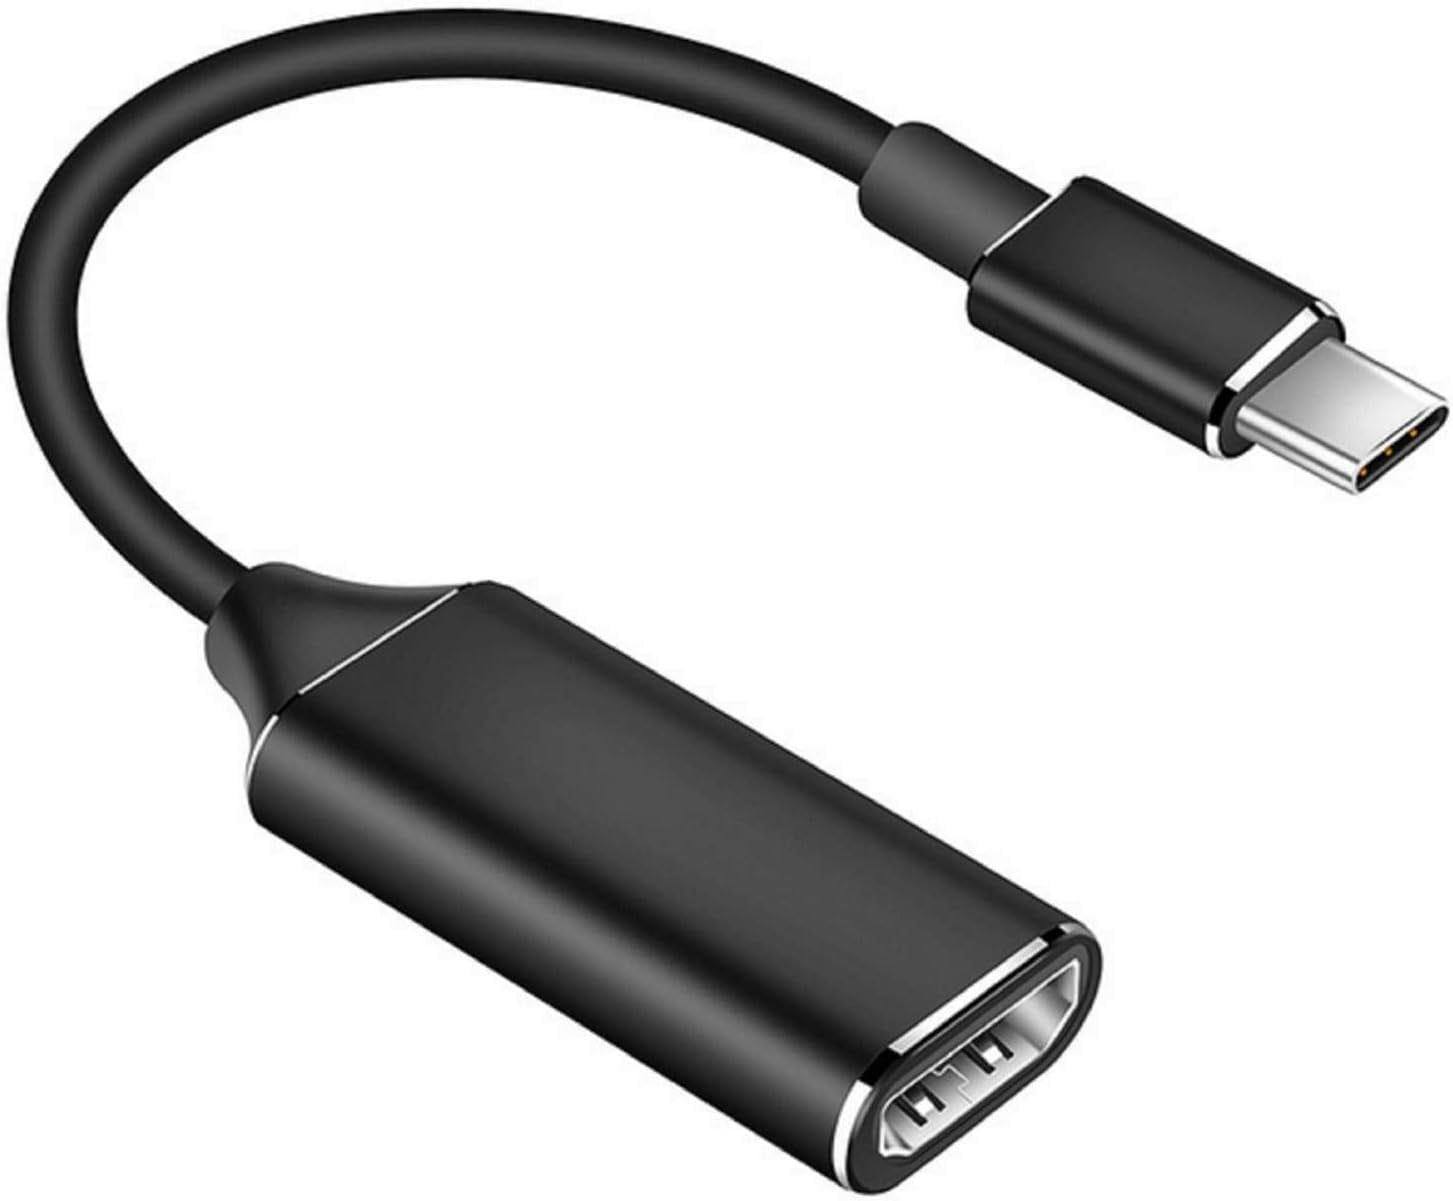
Use USB-C to USB-C for Single-Cable Simplicity
If your monitor has a USB-C input with Power Delivery, grab a Thunderbolt 3 or USB 3.2 Gen 2 cable. This single cable can:
- Transmit 4K video
- Charge your MacBook with up to 65W or more
- Transfer data
This approach is recommended for clutter-free desks. Connecting a MacBook Air to an MSI Modern MD272QXP monitor via USB-C enables full charging and 4K display output at the same time.
Use HDMI for Older Setups
If your MacBook has an HDMI port or you’re working with a non-USB-C monitor, grab a high-speed HDMI cable that supports 4K at 60Hz. Plug one end into your MacBook and the other into your monitor.
Keep in mind that HDMI doesn’t charge your MacBook. You’ll need a separate charger plugged in.
Pick the Right Adapter When Needed
No USB-C or HDMI port available? Use these adapters:
- USB-C to HDMI: for HDMI monitors
- USB-C to DisplayPort: for DisplayPort monitors
- USB-C to VGA: only for legacy projectors or displays, not recommended for daily use
Always buy Apple-certified or MFi adapters to avoid signal drops or compatibility issues.
Connect Your MacBook to the Monitor Step by Step

Plug In the Cable
- Shut down your MacBook (optional but recommended for first-time setup)
- Connect one end of the USB-C or HDMI cable to your MacBook
- Plug the other end into the monitor
- Power on the monitor
Your Mac should detect the display automatically within seconds. If nothing appears, press Command + F1 (or F2 on newer Macs) to toggle display detection.
Configure Display Settings in macOS
Open Display Settings
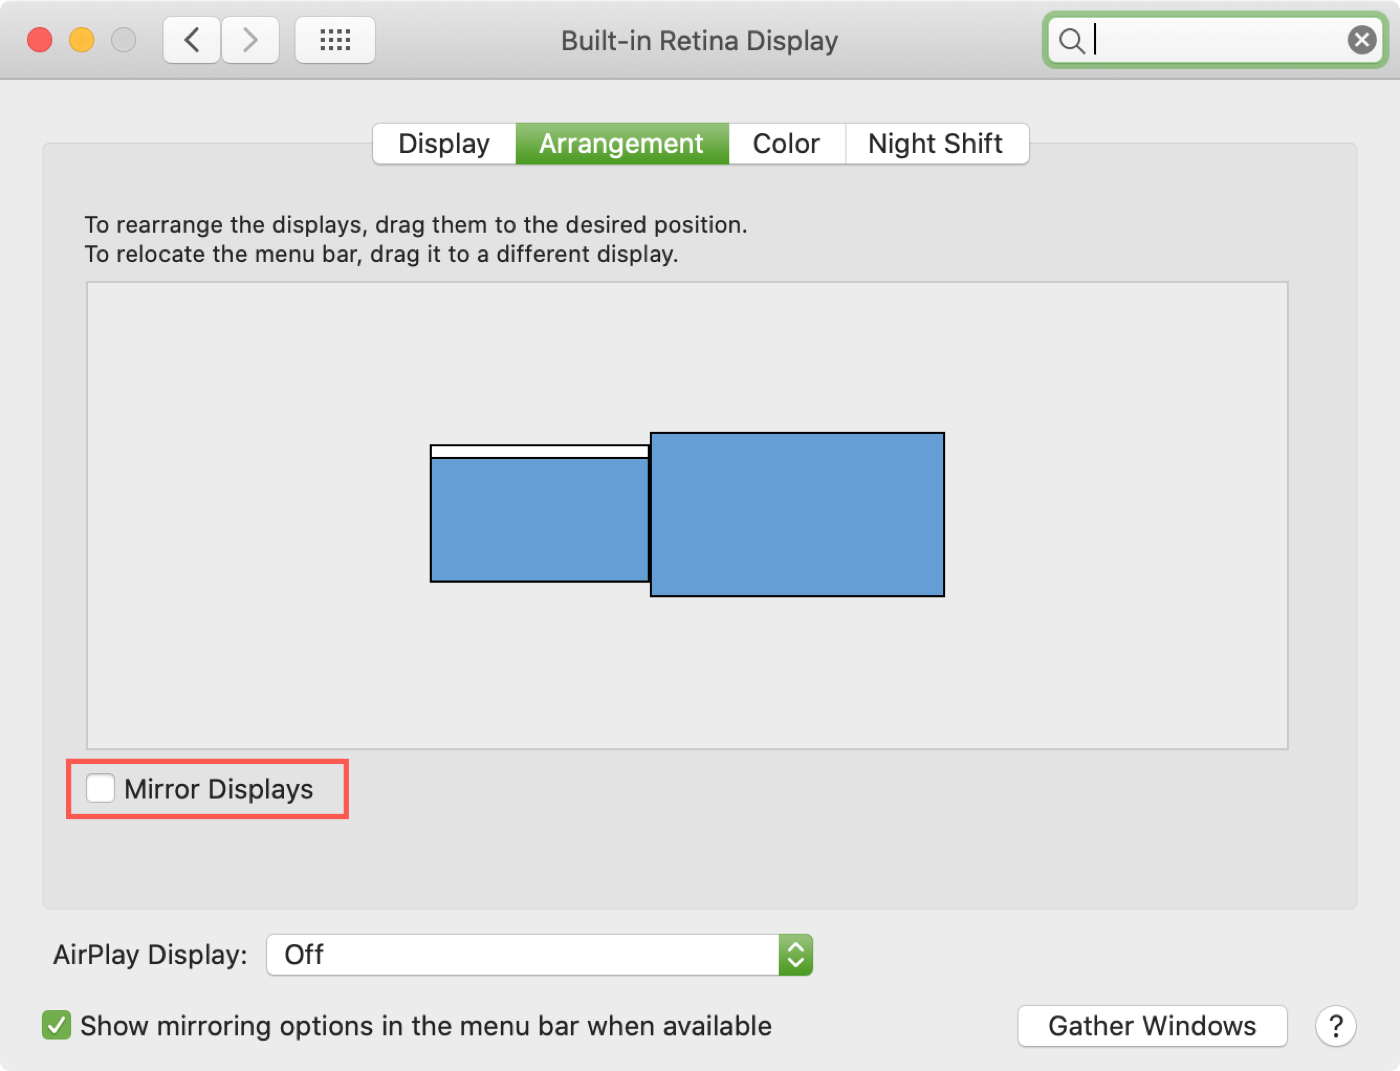
After connecting, click the Control Center icon in the top-right corner on macOS Big Sur or later. Select Screen Mirroring, then Displays. You can also go to Apple Menu, then System Settings, then Displays.
You’ll see both your MacBook screen and the external monitor listed.
Choose Extend or Mirror Display
Extend Your Desktop is the default setting. Use both screens as one continuous workspace and drag apps between them. This setup is ideal for multitasking: browse on one side, edit on the other.
Mirror the Display shows the same content on both screens, which is useful for presentations or demos. To enable this, open Display Settings, click Mirror Built-in Display, and select the external monitor from the dropdown.
Set the External Monitor as Main Display
Want your external monitor to act as your primary screen?
- In Displays settings, click and drag the white menu bar from the MacBook window to the external monitor window
- Close the window, and the monitor is now your Main Display
Now full-screen apps, the Dock, and menu bar appear on the external screen by default.
Optimize Resolution and Scaling
Start with Auto-Resolution
By default, macOS sets the “Best for display” resolution, which is usually optimal. To adjust:
- In Display Settings, select the external monitor
- Choose Default for display or Scaled
- Pick a resolution that balances sharpness and screen space
Retina MacBooks may show “Looks like 1440×900” even on 4K monitors. This is macOS scaling for clarity.
Adjust Color and Brightness Settings
Apply the Correct Color Profile
For accurate colors, especially in photo or video editing:
- In Displays settings, select your external monitor
- Open the Color Profile dropdown
- Choose the manufacturer profile (such as MSI MD272QXP)
If your monitor’s profile doesn’t appear, download it from the manufacturer’s website and install it via ColorSync Utility.
Fine-Tune via Monitor OSD
Use the physical buttons on your monitor to access the On-Screen Display menu and adjust:
- Brightness
- Contrast
- Color temperature
- Input source
Set brightness to match your ambient lighting to reduce eye strain.
Enable Charging Over USB-C

Monitors with USB-C Power Delivery (65W or higher) can charge your MacBook while displaying video. To enable this:
- Use a Thunderbolt 3 or higher USB-C cable
- Connect MacBook to the USB-C PD port on the monitor
- Check that your MacBook is charging by clicking the battery icon in the menu bar and looking for “Charging” status
If charging doesn’t work, check the monitor’s OSD menu. Some models require USB-C PD to be enabled manually. Try a different cable if needed, since non-Thunderbolt cables may not support full power.
Monitors like the MSI Modern MD272QXP support 65W PD, enough to charge MacBook Air and most MacBook Pro models.
Troubleshoot Common Connection Issues
No Signal? Try These Fixes
Check the Input Source: On your monitor, press the input or source button and ensure it’s set to USB-C, HDMI, or DisplayPort. Use the OSD menu to switch if needed.
Restart Display Detection: Press Command + F2 (or F14/F15 depending on model). You can also unplug and replug the cable, or restart your MacBook while the monitor is connected.
Only Charging, No Display (or Vice Versa)
This usually means a low-quality cable. Use a Thunderbolt 3 or certified USB 3.2 Gen 2 cable instead. Cheap cables often support only one function. Test with another cable if available.
Flickering or Dropped Signal
Common causes include a loose cable, outdated macOS, or an incompatible adapter. Try these solutions:
- Update macOS to the latest version
- Try a different port on your MacBook
- Avoid long or coiled USB-C and HDMI cables, since signal degrades over distance
External Monitor Not Detected
- Go to System Settings, then Displays
- Hold the Option key and click Detect Displays
- If still not detected, reset NVRAM by shutting down your MacBook, then turning it on while pressing Option + Command + P + R for 20 seconds
This clears display settings and forces macOS to redetect monitors.
Set Up Multiple Monitors
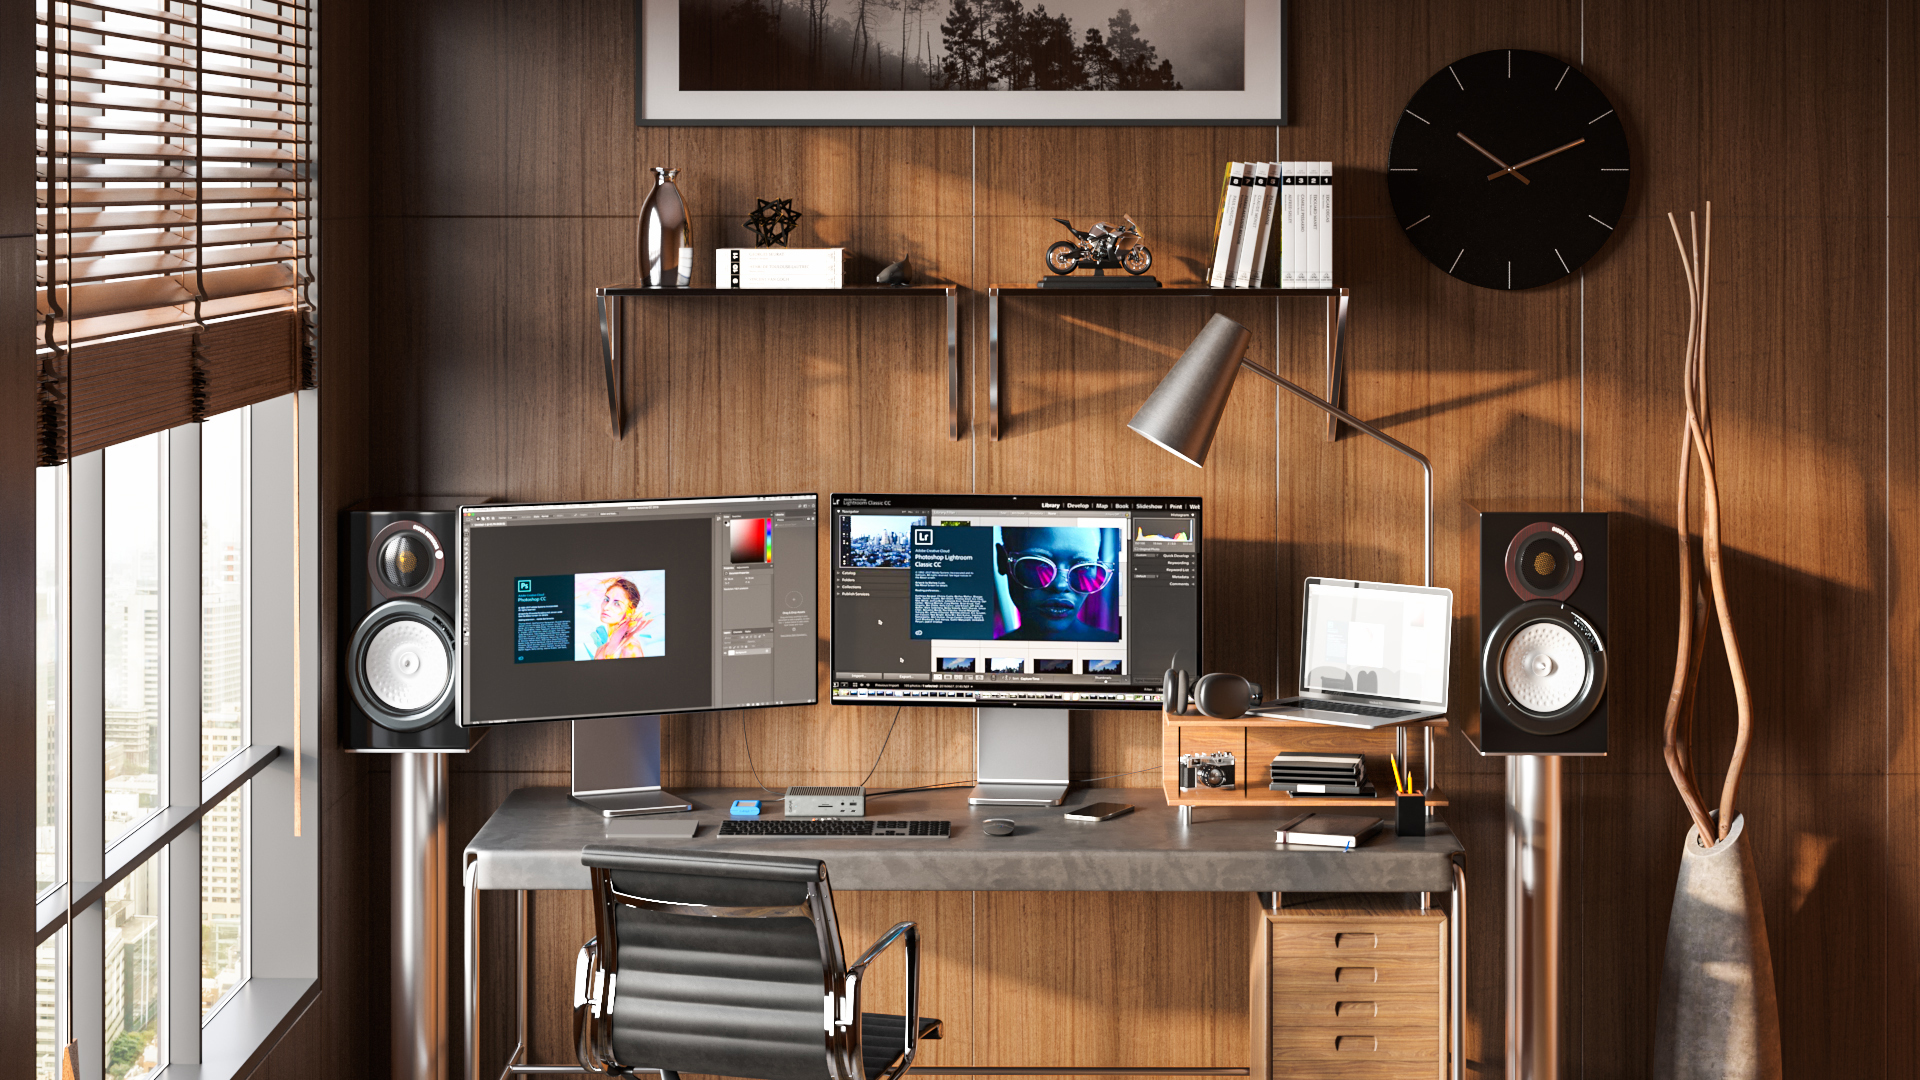
Want more than one external display?
- M1/M2/M3 MacBook Air: Supports one external display up to 6K
- M1/M2/M3 MacBook Pro: Supports up to two external displays (M1 Pro/Max up to four)
To connect multiple monitors, use USB-C or Thunderbolt ports directly, or use a Thunderbolt dock with multiple video outputs. A CalDigit TS4 dock lets you run dual 4K monitors, charge your MacBook, and connect peripherals via one cable.
Arrange displays in System Settings, then Displays, then Arrange to match your physical setup.
Maintain a Clean, Efficient Setup

Use a Dock to Reduce Clutter
Instead of multiple cables, use a Thunderbolt 4 dock to connect:
- Monitor
- Charger
- Keyboard and mouse
- Ethernet
- SD card reader
All through one USB-C cable to your MacBook. This setup is ideal for desk-bound MacBooks where you want to plug and unplug quickly.
Prevent Sleep and Screen Dimming
Stop your Mac from sleeping when the lid is closed:
- Connect power and an external keyboard or mouse
- Close the lid
- Mac continues to run on external display (clamshell mode)
Make sure your MacBook is plugged into power and external input devices are connected, as these are required for wake.
To disable automatic brightness, go to System Settings, then Displays, and uncheck “Automatically adjust brightness.”
Frequently Asked Questions About Connecting a MacBook to a Monitor
What cable do I need to connect my MacBook to a monitor?
For modern MacBooks with USB-C or Thunderbolt ports, use a Thunderbolt 3 or USB 3.2 Gen 2 cable. Older MacBooks with HDMI ports can use a high-speed HDMI cable. The cable quality matters: low-spec cables may only charge your MacBook or only transmit display signal, not both.
Can I charge my MacBook through a USB-C monitor?
Yes, if your monitor supports USB-C Power Delivery (PD) of 65W or higher. Connect your MacBook to the monitor’s USB-C PD port using a Thunderbolt 3 or higher cable. Some monitors require USB-C PD to be enabled manually through the OSD menu.
How do I extend my display instead of mirroring it?
Open System Settings, then Displays. By default, macOS extends your desktop across both screens. If your display is mirroring, click the dropdown and select “Extended display” instead. You can also drag the white menu bar to set your preferred main display.
Why isn’t my MacBook detecting the external monitor?
Try these fixes: check the input source on your monitor, restart display detection with Command + F2, unplug and replug the cable, or reset NVRAM by holding Option + Command + P + R for 20 seconds during startup. Updating macOS can also resolve detection issues.
How many external monitors can my MacBook support?
MacBook Air models (M1/M2/M3) support one external display up to 6K. MacBook Pro models support up to two external displays, while M1 Pro/Max and M2 Pro/Max chips support up to four. For multi-monitor setups, a Thunderbolt dock expands your options.
Do I need an Apple-branded monitor to connect to my MacBook?
No. macOS works with most third-party monitors from brands like MSI, Dell, LG, and others. You may need an adapter or specific cable depending on your MacBook’s ports and the monitor’s inputs, but compatibility is generally seamless.
Key Takeaways for Connecting Your MacBook to a Monitor
Connecting your MacBook to an external monitor is fast, reliable, and dramatically improves your workflow. With a single USB-C cable, you can power your laptop, display video, and transfer data all at once. macOS makes the setup seamless across most modern MacBook models and third-party displays like MSI, Dell, and LG monitors.
Start by identifying your MacBook’s port type, choose a Thunderbolt 3 or USB 3.2 Gen 2 cable for the best results, and configure your display settings in System Settings. If you run into issues, a higher-quality cable often solves charging and display problems simultaneously.
Ready to expand your workspace? Plug in your monitor, follow the steps above, and enjoy the extra screen real estate.